By default, FrameFlow installs in single-site mode, but for organizations with the main headquarters in one place and different secondary locations in another, multi-site mode is needed. FrameFlow's multi-site mode will aggregate data from all of your locations onto a single monitoring interface so you can stay on top of each one no matter where you are. Read on to find out how to use remote nodes to unite your monitoring configuration.
Imagine you're monitoring the contents of a large log file that's in a different location than your headquarters. With FrameFlow's multi-site technology, the monitoring is done at the remote site and only the results are sent back to the master console. This generally ends up being significantly faster than sending all data back for the master console to parse through. The master console takes the results from its data gathering and uses them to populate dashboards, generate reports and send alerts about any conditions that may require attention.
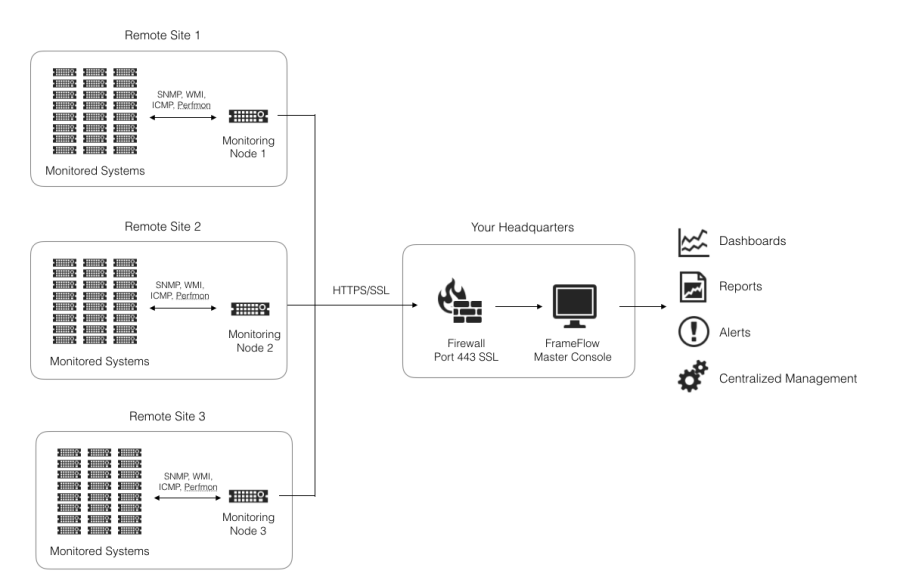 Multi-Site Diagram
You can also compartmentalize your multi-site installation based on location with user roles. This way, users in one location will log in and see only the devices, event monitors, dashboards, etc. that are relevant to their location.
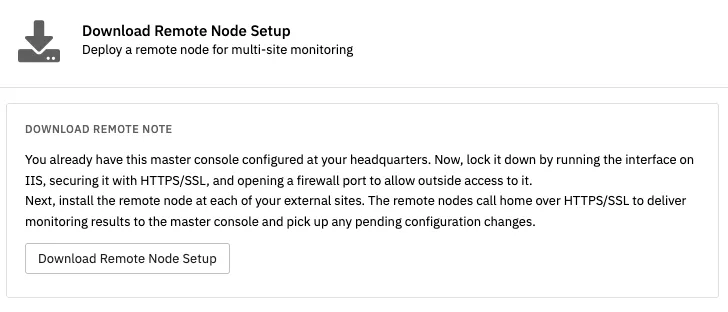
The first thing you need to do to set up a multi-site installation is head to the Tools section of FrameFlow. Select the "Download Remote Node Setup" option. Once you've downloaded the remote node setup program, run it. Choose a setup location for your remote node, launch the config utility, then when you get to the instruction that says "Select the installation type", select "Remote Node" from the dropdown menu.
 Remote Node Setup Download
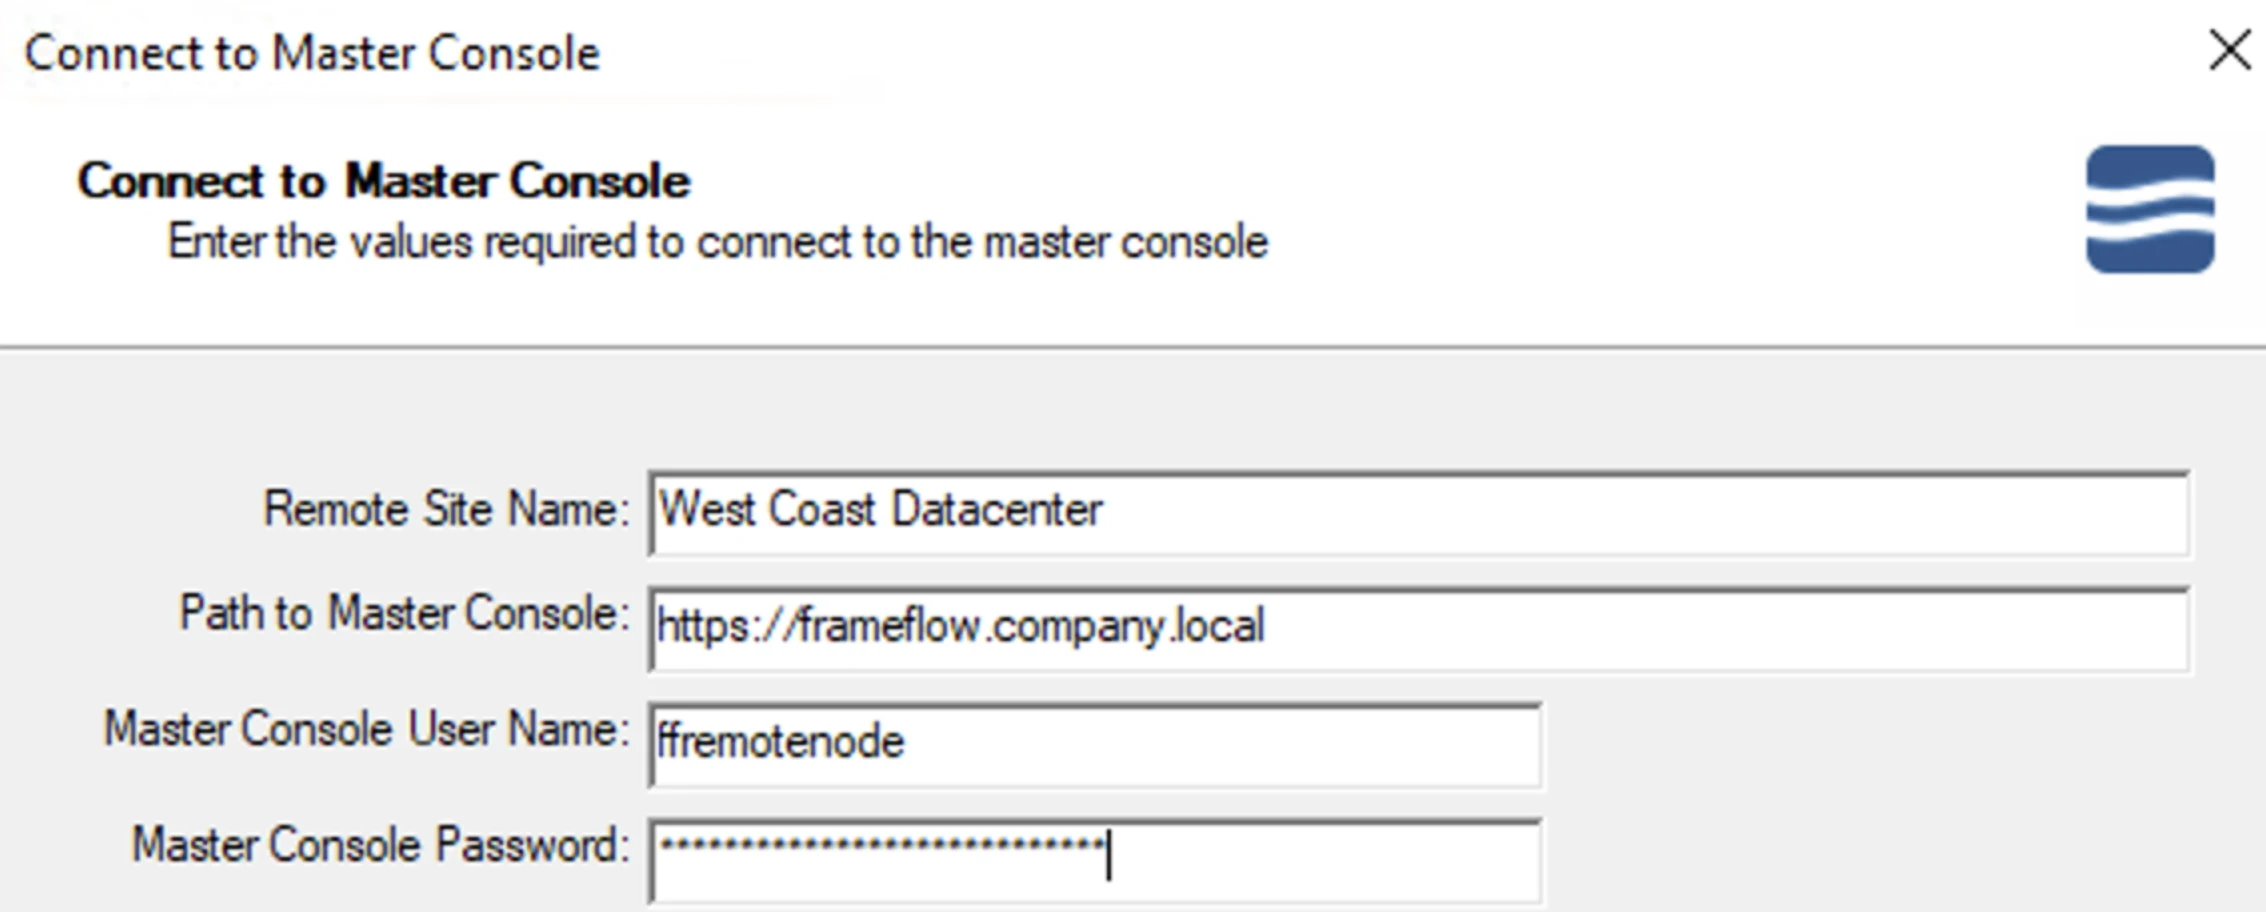
You'll be taken to a screen where you're prompted to enter the values required to connect to the master console. Enter the name you want to use and the path to the master console. This can be any https path to your master console.
 Remote Node Install Settings
You must be able to access the master console using a browser on the remote node. To accomplish this, you'll likely need to open a firewall port and direct it to your master console. While doing so, make sure follow the procedures in our Security Best Practices guide to retain maximum security.
 Knowledge Base Technical Resources
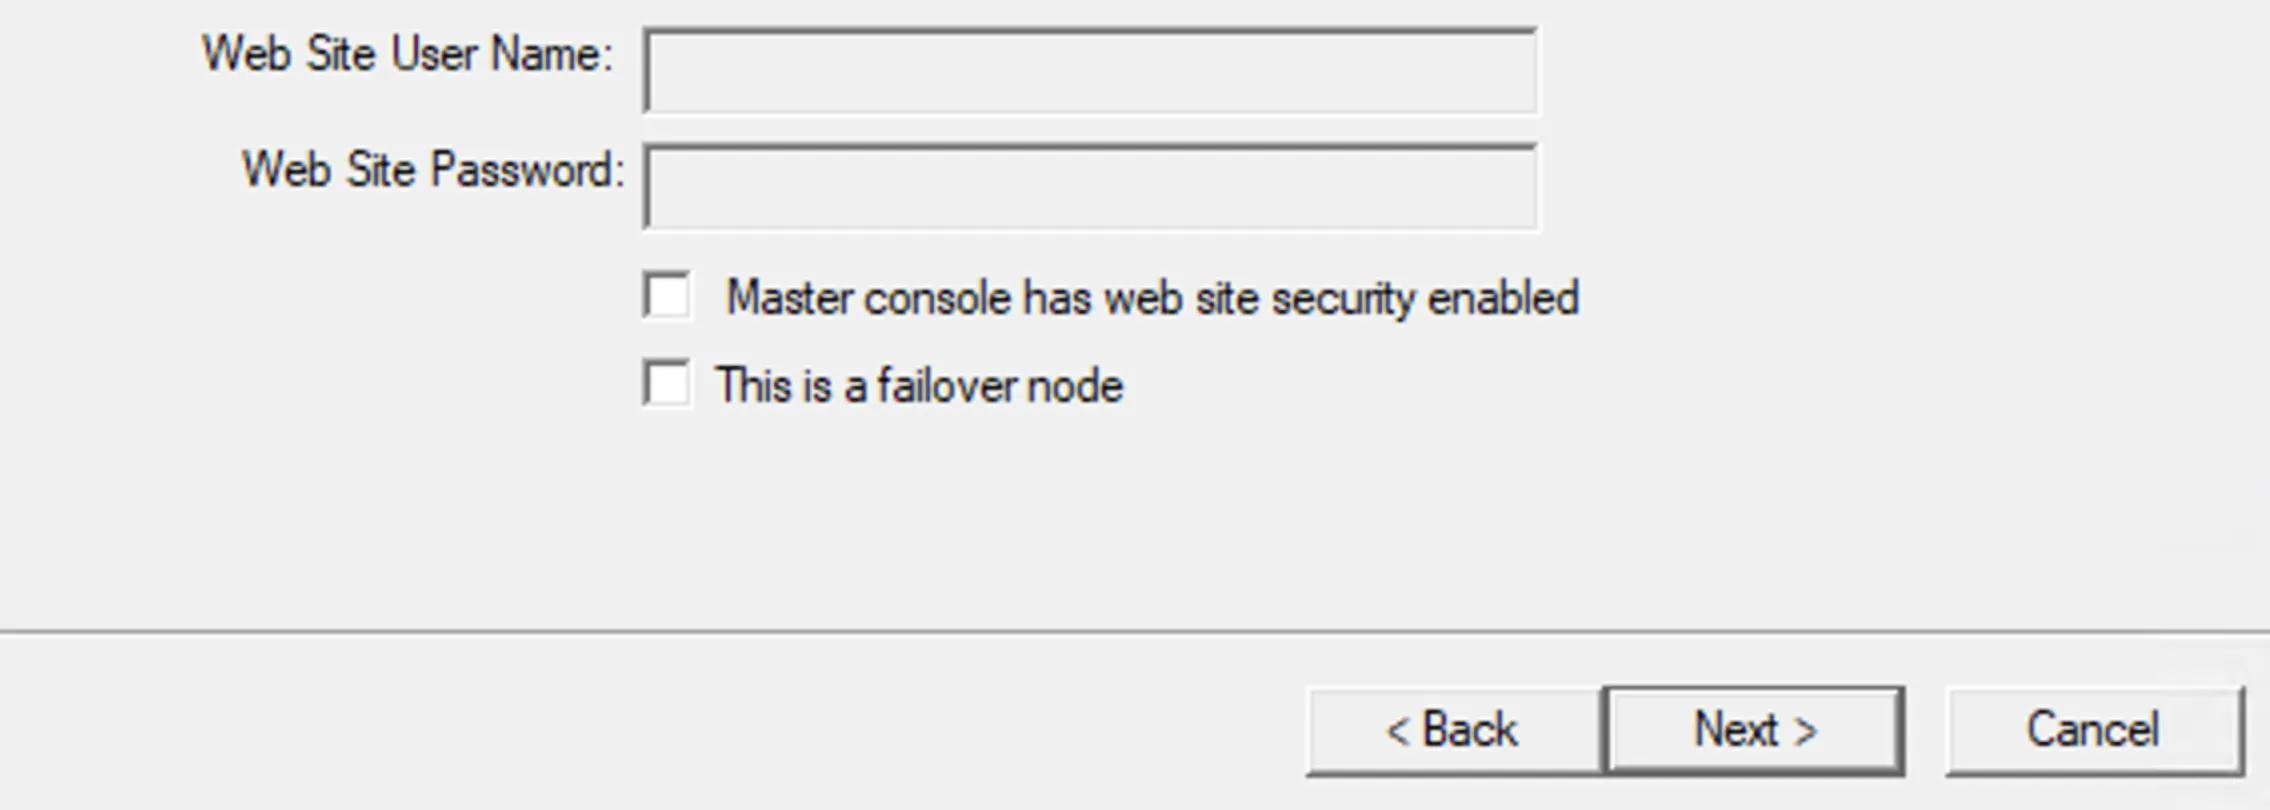
Then, add the username/password combination for the master console. After this, indicate whether or not the site you're connecting to has website security enabled. If it does, the boxes for the website's username and password will become useable. Enter the username and password for your website there if applicable. Click "Next".
 Website Security Settings
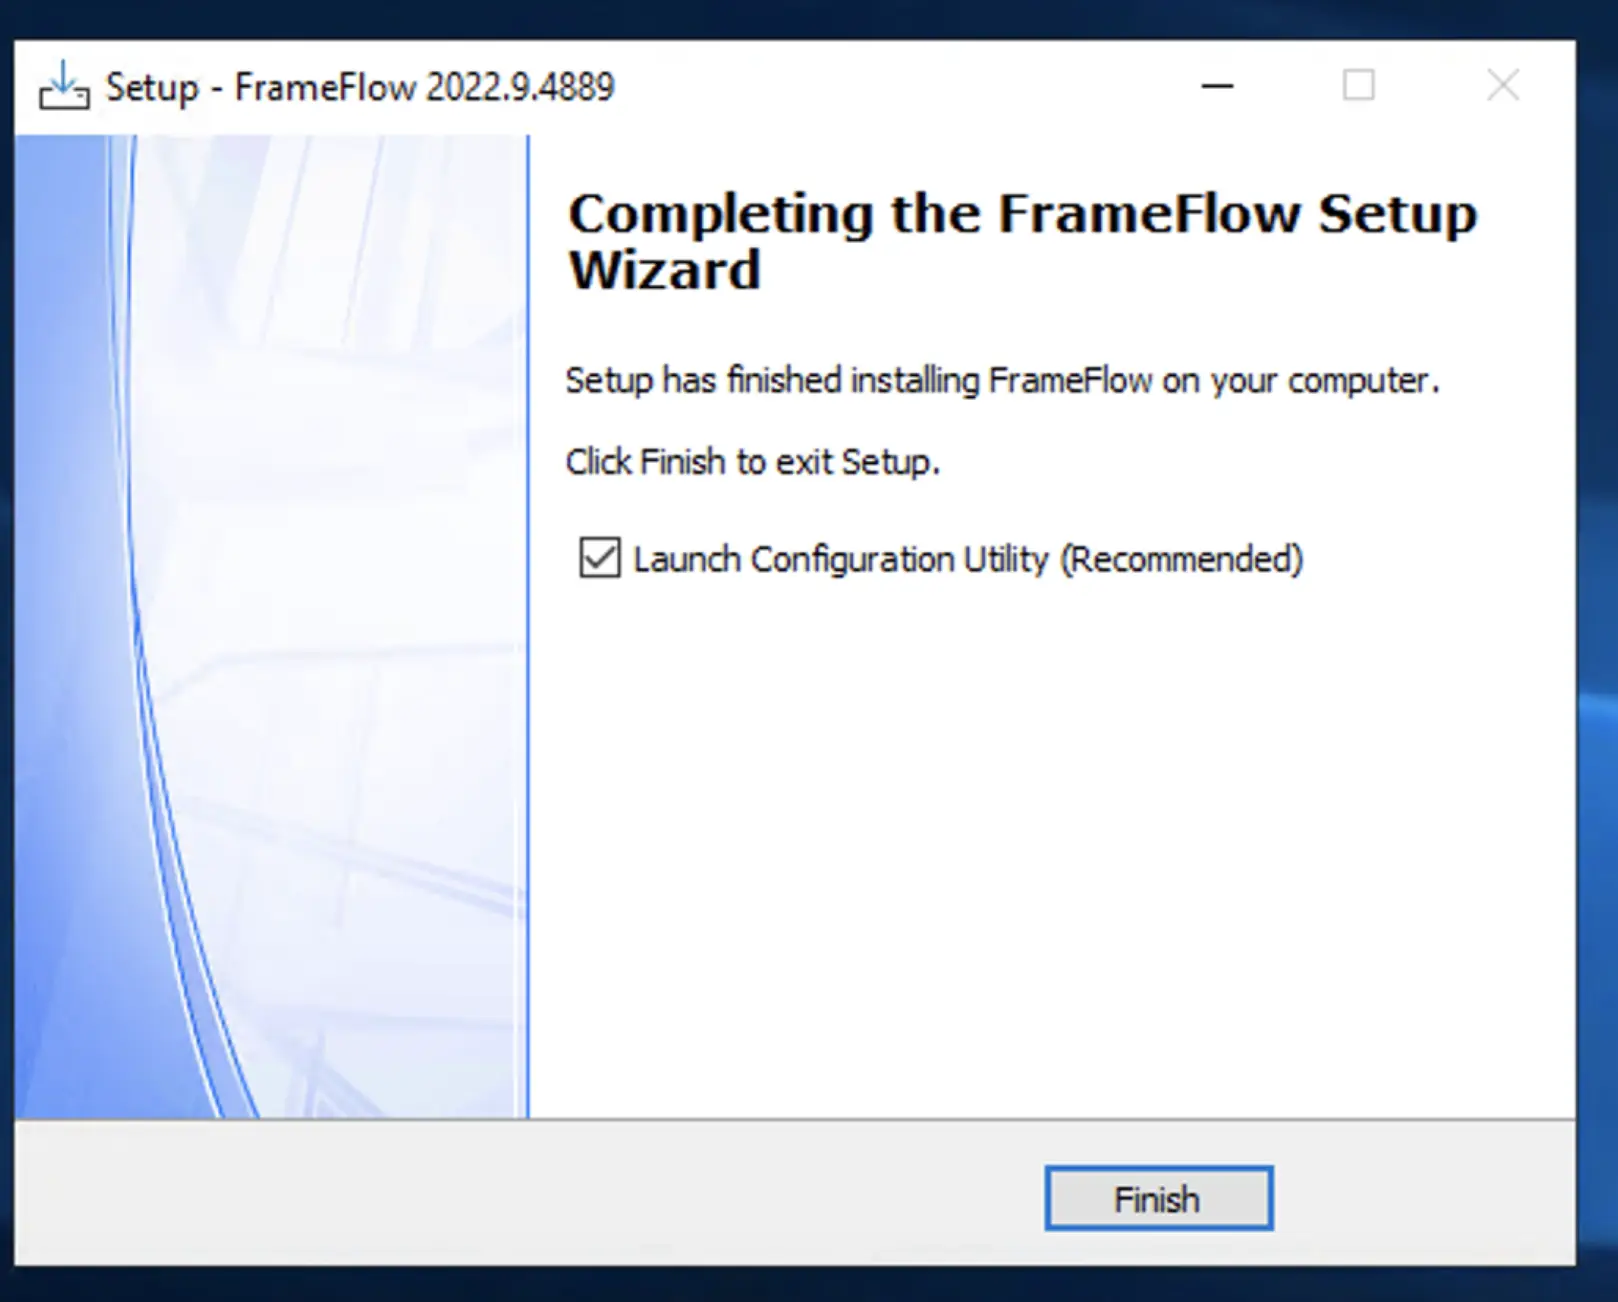
Setup and configuration are now complete. Click "Finish" when you see the window below. The remote node has no UI whatsoever because all monitoring, management, configuration, and reporting is done from the master console which runs at your headquarters.. Because of this, users tend to forget where they installed their remote nodes. We discuss how to mitigate that ahead.
 Finish Configuration
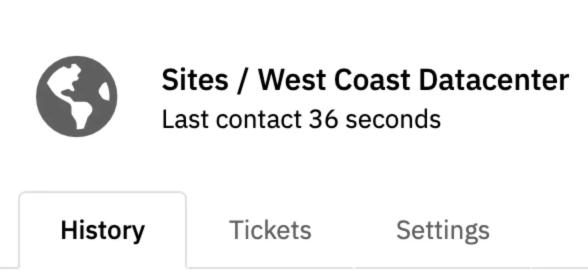
Back in your main FrameFlow installation, hit refresh and you'll see that there's a new option in the sidebar called "Sites". Here, you'll be able to see your remote node and any future remote nodes you set up. Verify that it's connected to your main console by checking its last contact, available underneath its name in the interface.
 Lost Contact Indicator
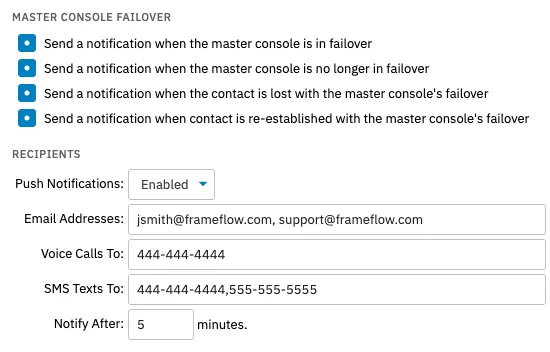
In Settings > Lost Contact Settings, you can configure the lost contact notifications you require. Choose from a list of options that cover lost contact, reestablished contact, and whether or not the remote node or main console enter failover mode. A screenshot of this section of Settings is below, as well as fields for inputting the emails and phone numbers you want FrameFlow to contact in case of any of these alerts triggering.
 Lost Contact Notification Settings
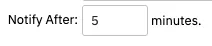
In the Interval section of this page, you can choose the amount of time FrameFlow should wait before sending you an alert that your remote nodes haven't checked in recently.
 Interval Settings
Back in Sites > [Your Site] > Settings, there is a list of properties for your remote site. Here, you can view the last contact, the IP address, and more. Surprisingly, one of the most useful things about this page is that you can view the system your remote node was installed on using "Computer Name". Like we said, since users don't usually have to return there, it can be easy to forget where you installed your remote node!
If you need additional recipients for lost contact notifications, you can add them into the "Lost Contact Notifications" section of this page.
You're now in multi-site mode, so have a look around! You'll notice that the Network Devices section, the Event Monitors section, and more aspects of your configuration now have an additional level of hierarchy: the sites folder. Now, you can view local monitoring completely separately from the sites you have access to. The tree structure for your remote site works exactly the way the local one does and all the features that are available to your local installation are also available remotely. You can add network devices, event monitors, groups and subgroups, graphs, dashboards, and more in exactly the same way remotely as locally.
 Sites Section
The only practical difference is that when adding an event monitor or network device to your remote site, the item won't be added to the site immediately as it would locally. The device or monitor will appear to be there instantly, but the remote node must first pick up the change, run the event monitor, and return the results while calling home only once every few seconds. Once your event monitor is added, hit "Run Event Monitor Now" as usual and monitoring will proceed.
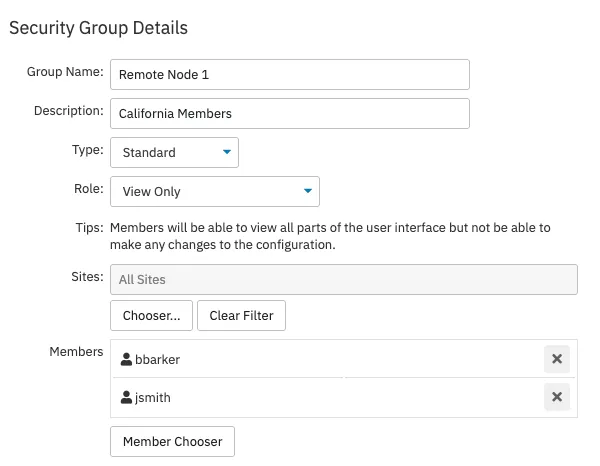
In Settings > Login and Security Settings, create a new security group and give it a name that correlates with your new remote site. Optionally, you can add a description about the group as well. Assign a role from the dropdown list that will pertain to the site or sites you're allowing members of this group to see or control. Under "Sites", use the chooser to select the sites the group members will be able to access. Use the member chooser to add members to the group, then save.
 Site Membership Settings
Once these users log into FrameFlow, they'll be able to see only the sites that have been designated for them to view. This helps your team focus on the monitoring that pertains to them specifically. This tool can also be used to regulate who can and cannot see certain parts of your monitoring that may contain sensitive information. Their Headquarters section will contain only their alerts and their Network Devices section only their devices.
 Multi-Site Authentication Profile Setup
Site Focus lets you choose one or more sites from your list to focus on in different aspects of the FrameFlow interface. All other sites will be ignored until you turn Site Focus off. Even with Site Focus enabled, you'll be able to see alerts from all sites on the Headquarters tab, ensuring you don't miss important updates.
You can toggle Site Focus on and off by right-clicking the tree structure across FrameFlow's interface. We created a YouTube video that explains more which you can view below.
This tutorial taught you about the use cases, benefits, and procedures needed to get started with multi-site monitoring. We hope this helps your monitoring endeavors! Make sure to keep an eye out on the Features page for more new tutorials uploaded regularly.
More IT Monitoring Features